In this post, we’ll explore how to create a scrolling text display on a 16×4 LCD using an Arduino. We’ll guide you through the entire process, from setting up the hardware to writing and uploading the code. By the end of this tutorial, you’ll have a scrolling text display that can showcase different messages on each of the four lines of your LCD.
Prerequisites
Before we begin, make sure you have the following components ready:
- Arduino board (e.g., Arduino Uno)
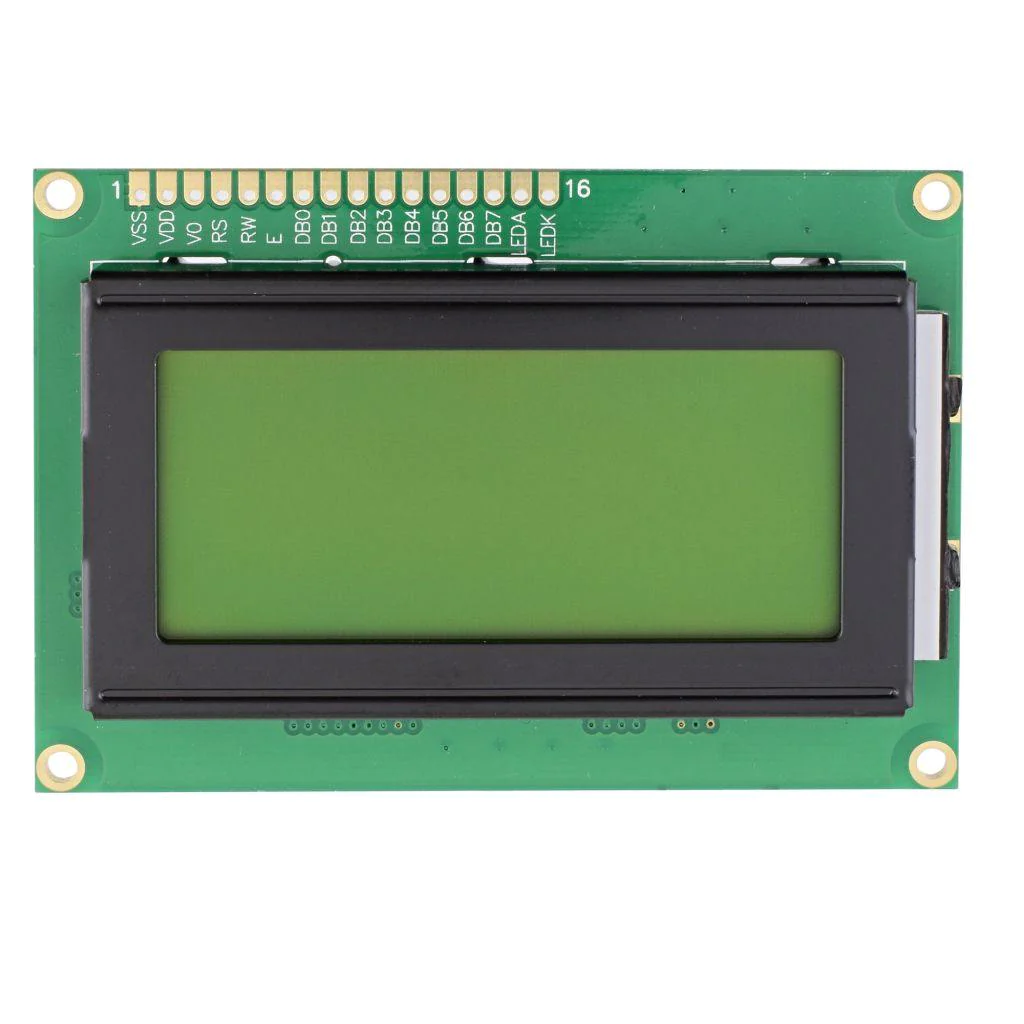
- 16×4 LCD display (HD44780 compatible)
- Potentiometer (for contrast control) a 10K will do fine
- Breadboard and jumper wires
- Power supply (usually 5V)
Step 1: 16×4 LCD To Arduino Hardware Setup
Connect the components as follows:
- LCD VSS (Pin 1) to Arduino GND
- LCD VDD (Pin 2) to Arduino 5V
- LCD V0 (Pin 3) to the wiper of the potentiometer (middle pin) the other pins on the potentiometer go to the Arduino ground and 5v respectively.
- LCD RS (Pin 4) to Arduino digital pin (e.g., D7)
- LCD RW (Pin 5) to Arduino GND
- LCD E (Pin 6) to Arduino digital pin (e.g., D6)
- LCD D4 (Pin 11) to Arduino digital pin (e.g., D5)
- LCD D5 (Pin 12) to Arduino digital pin (e.g., D4)
- LCD D6 (Pin 13) to Arduino digital pin (e.g., D3)
- LCD D7 (Pin 14) to Arduino digital pin (e.g., D2)
- LCD A (Pin 15) and K (Pin 16) to Arduino 5V and GND, respectively.
Ensure you connect the pins correctly and adjust the potentiometer for LCD contrast.
Step 2: Install Required Libraries
In the Arduino IDE, go to “Sketch” > “Include Library” > “LiquidCrystal” and add the LiquidCrystal library.

Step 3: Writing the Arduino Code
Here’s the basic Arduino code to display text on your 16×4 LCD:

This code initializes the LCD and prints a “Hello, World!” message on the first line.
Step 4: Upload the Code
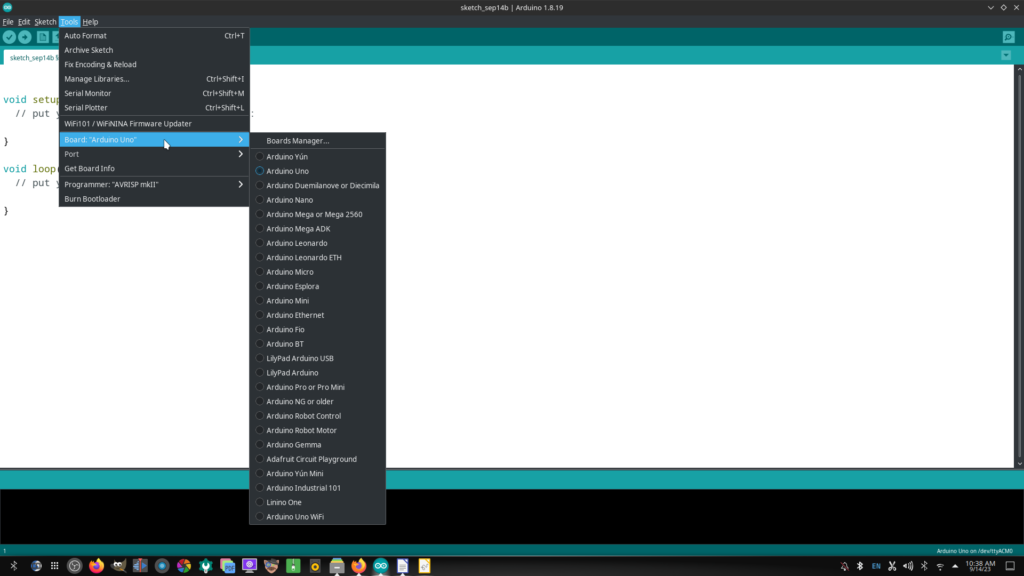
Connect your Arduino to your computer, open the Arduino IDE, select your board and port under “Tools,” and upload the code to your Arduino.

Step 5: Testing the LCD Display
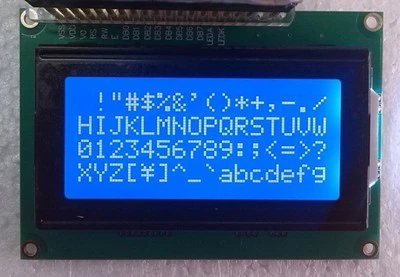
After uploading the code, you’ll see the “Hello, World!” message on the LCD. You can customize the code to display different text or data on the LCD as needed.
Adding Scrolling Text
To add scrolling text to one of the lines, let’s modify the code.


This updated code creates a scrolling effect for text on the first line of your 16×4 LCD. You can adjust the message and scroll speed by modifying the message variable and the delay times.
Scrolling Different Messages on All Four Lines
Now, if you want to scroll different messages on all four lines of your 16×4 LCD, we can further modify the code. Here’s the complete code to achieve this:


In this updated code:
- We define a 2D array
messagescontaining four different messages, one for each of the four lines. - The
numMessagesvariable holds the number of messages. - The
scrollDelayvariable controls the scrolling speed. You can adjust this value to change how fast the text scrolls. - We use nested loops to iterate through each line and scroll its corresponding message. The outer loop cycles through each line, and the inner loop scrolls the text within the message.
- After scrolling each message, we pause for a moment before moving on to the next line’s message.
- With this code, your 16×4 LCD will display different scrolling messages on all four lines, creating an eye-catching scrolling text display. You can customize the messages and adjust the scrolling speed to suit your needs.

Conclusion
Creating a scrolling text display on a 16×4 LCD with Arduino can be a fun and engaging project. By following the steps in this tutorial and understanding the code, you can create dynamic displays for various applications, such as information boards, notifications, or simple animations. Experiment with different messages, fonts, and scrolling speeds to add a personal touch to your project. Happy tinkering!
Be sure to check out the difference between an Arduino UNO R3 and an UNO R4 Here…
Be sure to subscribe below to the Electrified Life newsletter for the latest articles on projects and ways that you too can work from home as a blogger!
We won’t send you spam. Unsubscribe at any time
